Showing posts with label Chocolate. Show all posts
Friday, November 5, 2010
Saturday, October 30, 2010
Raspberry and White Chocolate Dessert Pizza
I think the pictures pretty much speak for themselves.
I didn't make the pizza, it was made by my neighbour for our Halloween party last night. She baked shortbread in a pizza dish and then topped it with white chocolate and homemade raspberry sauce.
Like a dessert pizza.
The raspberry sauce was meant to look bloody and give it a Halloween effect. But, really, all i could think about was 'Damn, that smells good. I love berries."
Let it be known from here on out that my ultimate dream is to own a berry farm and a cafe selling berry cakes and biscuits and waffles and crepes.
I shall be berry girl.
Anyway, i thought it would be a good opportunity to practice my photography. Although it was at night, so the lighting was pretty bad and my hands were kinda wobbly.
On the bright side, I can only get better.
Right?
Labels:
bar,
berries,
biscuit,
Chocolate,
Cookies,
Halloween,
photography,
shortbread,
white chocolate
Sunday, October 24, 2010
Rainy Day S'mores
Take warm creamy peanut butter and ooey-gooey marshmallows and melty Hersey's chocolate chips sandwiched in between two crispy cream crackers and you'll have yourself a Rainy Day S'more!
And exactly how do you make these little buggers?
You start off with cream crackers. I didn't have any graham crackers on hands, so i used these little cream crackers instead. They are much lighter than graham crackers, so it leaves more room in your tummy for seconds! (and in my sister's case, thirds and fourths)
Then a (VERY generous) layer of peanut butter. The more you put, the more will heat up in the oven and become drizzling, dribbly peanut butter.
Then the mini marshmallows
And of course, the chocolate chips.
Into my tiny tabletop oven that is so handy for making s'mores.
They look so cute, basked in orange light. Mine took about 3 minutes to brown and turn soft on top heat, but basically all you have to do is stand in front of the oven, mittens at the ready, peeking through the glass window for the first signs of melting marshmallows. (Oh, and chocolate.)
(AND peanut butter)
Then squish a second cream cracker right on top so the marshmallows puff out at the sides. they are only good if they ooze out the corners.
The verdict?
Just look at the peanut butter creeping out the tiny holes on top the cracker, and i feel like death. more, more, more!
(Eventually, i discovered, marshmallows do run out.)
And exactly how do you make these little buggers?
You start off with cream crackers. I didn't have any graham crackers on hands, so i used these little cream crackers instead. They are much lighter than graham crackers, so it leaves more room in your tummy for seconds! (and in my sister's case, thirds and fourths)
Then a (VERY generous) layer of peanut butter. The more you put, the more will heat up in the oven and become drizzling, dribbly peanut butter.
Then the mini marshmallows
And of course, the chocolate chips.
Into my tiny tabletop oven that is so handy for making s'mores.
They look so cute, basked in orange light. Mine took about 3 minutes to brown and turn soft on top heat, but basically all you have to do is stand in front of the oven, mittens at the ready, peeking through the glass window for the first signs of melting marshmallows. (Oh, and chocolate.)
(AND peanut butter)
Then squish a second cream cracker right on top so the marshmallows puff out at the sides. they are only good if they ooze out the corners.
The verdict?
Just look at the peanut butter creeping out the tiny holes on top the cracker, and i feel like death. more, more, more!
(Eventually, i discovered, marshmallows do run out.)
Labels:
Bite-sized,
Chocolate,
easy,
Marshmallows,
Peanut Butter,
snacks
Thursday, September 2, 2010
Quick Chocolate Buttermilk Bread
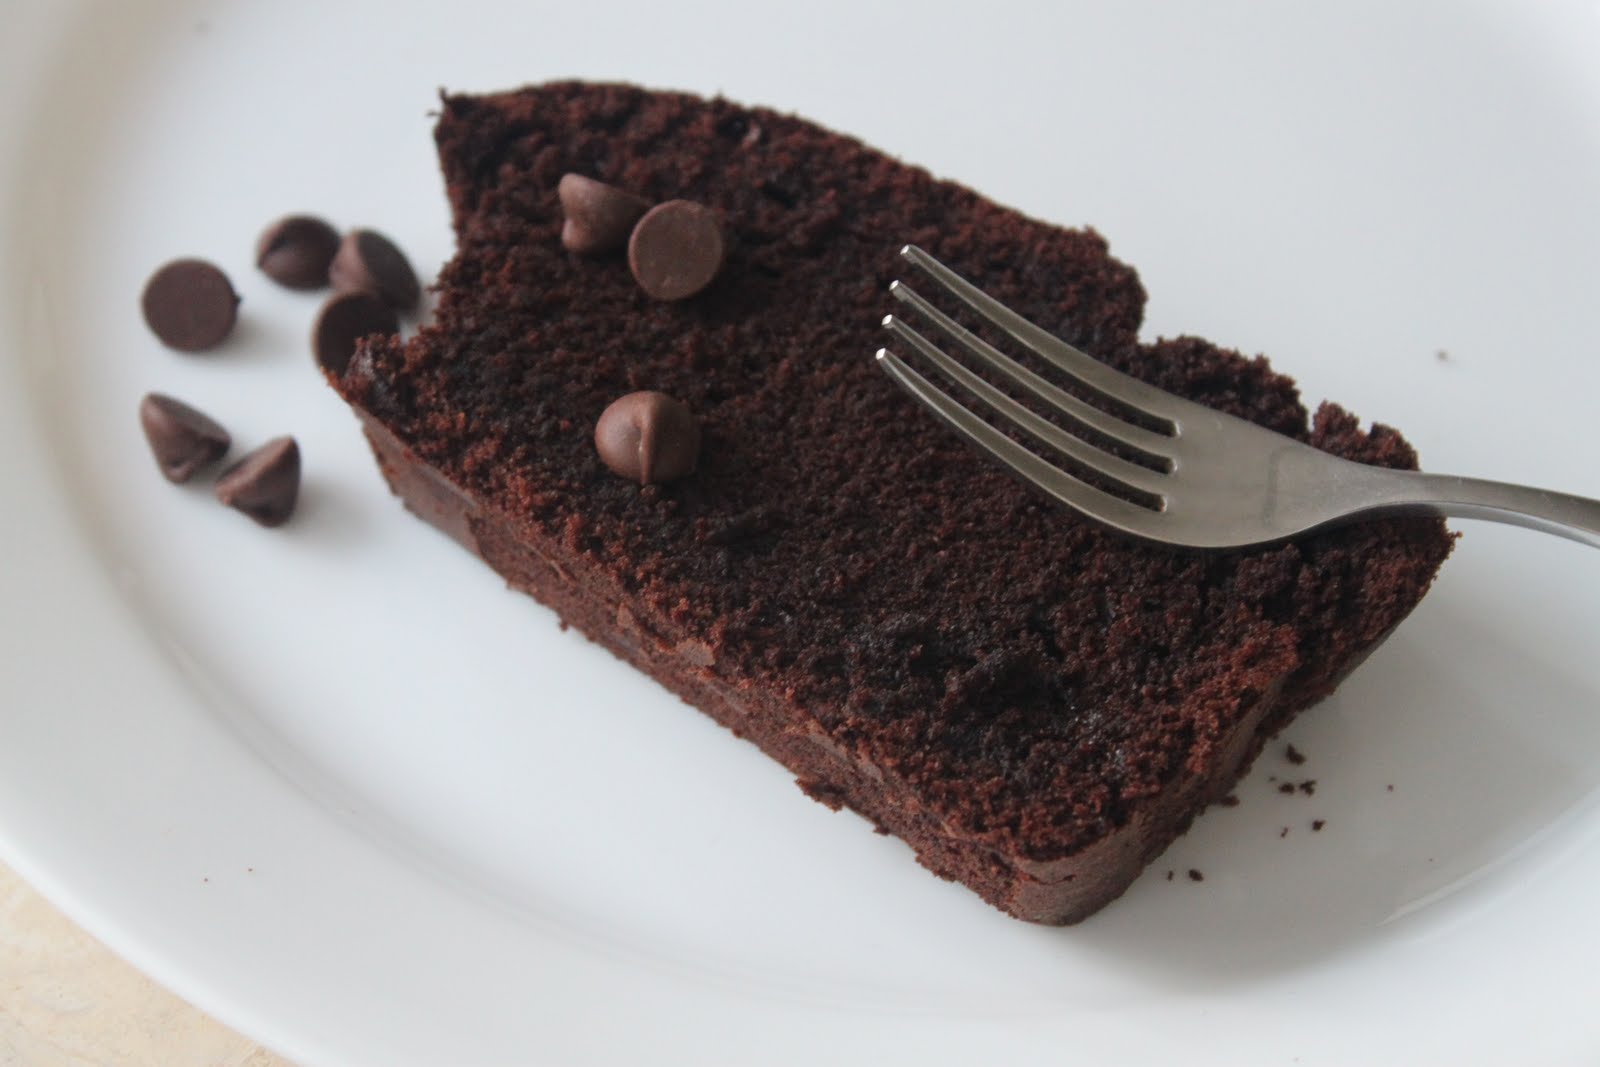
Chocolate bread is the bomb.
No, literally.
The flavour explodes in your mouth.
Mighty fine.
i decided not to use a chocolate ganache of any kind because i snuck some chocolate kisses in there and that was already DOUBLE chocolate.
But if you're the daring, chocoholic kind, pour loadsa chocolate icing if you want!
It is actually quite a light cake. Not like black Forest or anything.
I just realised i typed cake there instead of bread.
Because it actually IS quick bread.
Ah, potato potahto.
My only complaint would be that the bread sort of broke when i tore the baking parchment from it. Although it my have been 100% my fault because i have been known to be pretty rough when it comes to ripping off baking parchment.
Recipe?
gladly.
it is altered from here. by the way.
No, literally.
The flavour explodes in your mouth.
Mighty fine.
i decided not to use a chocolate ganache of any kind because i snuck some chocolate kisses in there and that was already DOUBLE chocolate.
But if you're the daring, chocoholic kind, pour loadsa chocolate icing if you want!
It is actually quite a light cake. Not like black Forest or anything.
I just realised i typed cake there instead of bread.
Because it actually IS quick bread.
Ah, potato potahto.
My only complaint would be that the bread sort of broke when i tore the baking parchment from it. Although it my have been 100% my fault because i have been known to be pretty rough when it comes to ripping off baking parchment.
Recipe?
gladly.
it is altered from here. by the way.
Ingredients
- 1 1/2 cups all-purpose flour
- 1/2 cup Cocoa powder
- 1/2 teaspoon salt
- 1/2 teaspoon baking powder
- 1/2 teaspoon baking soda
- 4 oz unsalted butter
- 1 cup granulated sugar
- 2 large eggs
- 1 cup buttermilk or sour milk
- 1/4 cup Chocolate Morsels
PREHEAT oven to 350° F. Grease 9 x 5-inch loaf pan.
COMBINE flour, cocoa, salt, baking powder and baking soda in medium bowl. Beat butter and sugar in large mixer bowl until creamy. Add eggs, one at a time, beating well after each addition. Gradually beat in flour mixture alternately with buttermilk. Fold in 1/4 cup chocolate morsels. Pour into prepared pan.
BAKE for 50 minutes or until wooden pick inserted in center comes out clean. Cool in pan on wire rack for 10 minutes; remove to wire rack to cool completely
EAT!
COMBINE flour, cocoa, salt, baking powder and baking soda in medium bowl. Beat butter and sugar in large mixer bowl until creamy. Add eggs, one at a time, beating well after each addition. Gradually beat in flour mixture alternately with buttermilk. Fold in 1/4 cup chocolate morsels. Pour into prepared pan.
BAKE for 50 minutes or until wooden pick inserted in center comes out clean. Cool in pan on wire rack for 10 minutes; remove to wire rack to cool completely
EAT!
Go get your sugar rush, then.
if you click the link there is a recipe for a chocolate honey butter to ice yourcake bread
oh, and for the buttermilk substitute:
Note: I didn't have buttermilk (who does?) So i substituted with two cups of pretend buttermilk. You get this pretend butter milk by adding i tbsp of lemon juice to a 1 cup then filling it to the brim with milk and letting it rest for 5 minutes before using.
if you click the link there is a recipe for a chocolate honey butter to ice your
oh, and for the buttermilk substitute:
Note: I didn't have buttermilk (who does?) So i substituted with two cups of pretend buttermilk. You get this pretend butter milk by adding i tbsp of lemon juice to a 1 cup then filling it to the brim with milk and letting it rest for 5 minutes before using.
Friday, August 27, 2010
Peanut Butter Whoopie Pies
I know what you're thinking.
No, really.
i do.
Whoopie pies?
What on earth is that?
apparently it's the new cupcake.
Although i beg to differ because i LOVE cupcakes and i refuse to believe anything can replace it.
Especially something named--well-whoopie.
Then i got wondering. Whoopie? What is up with that?
So the story behind it is that the Amish women used to bake these pies to put in their husband's lunchboxes when they go out to work in the farms.
And when the Amish guys open the lunchboxes and see the pies, they shout' Whoopie!"
i don't know how much of that story is actually true. Wikipedia can be a deceiving place.
SO i got googling and sadly found out that all whoopie pies require shortening.
It's not that i don't have shortening. i do. It's just that shortening gets me all worried about the trans-fats.
Does Crisco have Trans-fats?
i was about to give up when i realised that half the magic of baking was all about the substituting.
So i replaced the shortening with, you guessed it, butter.
To be a bit more daring, i tried out a Peanut Butter whoopie Pie recipe because i LOVE LOVE PB.
Here's the recipe:
FOR THE PIES:
-2 tbsp peanut butter
-6 tbsp butter
-75g cocoa powder
-185g flour
-200g brown sugar
-225 ml milk
-1 egg
-1 tsp bicarbonate of soda
-1 tsp vanilla
-Salt
1. Preheat oven to 176 degrees Celsius. Line a baking tray with parchment paper.
2. Sieve the flour, cocoa powder, bicarbonate of soda and salt together in a medium bowl.
3. In a food mixer, cream together the butter and peanut butter. Add the brown sugar and continue mixing. Add the egg and vanilla and beat further till well mixed.
4. Add the flour mixture to the butter mixture along with the milk. Make sure it is evenly mixed.
5. Using a cookie scooper, scoop even amounts of batter neatly onto the baking tray and bake for 15 minutes.
FOR THE CREAM:
-2/3 cup peanut butter
-1/2 cup butter
-3/4 cup icing sugar
1. mix all together and use a piping bag to put the icing on the flat side of one pie. Sandwich another pie on top of it.
So. happy baking.
I know baking makes me happy,
whether i burn it or not.
Note: These pies are like spongy-cakey kind of biscuits. Not really pies. i wonder why they call them that.
No, really.
i do.
Whoopie pies?
What on earth is that?
apparently it's the new cupcake.
Although i beg to differ because i LOVE cupcakes and i refuse to believe anything can replace it.
Especially something named--well-whoopie.
Then i got wondering. Whoopie? What is up with that?
So the story behind it is that the Amish women used to bake these pies to put in their husband's lunchboxes when they go out to work in the farms.
And when the Amish guys open the lunchboxes and see the pies, they shout' Whoopie!"
i don't know how much of that story is actually true. Wikipedia can be a deceiving place.
SO i got googling and sadly found out that all whoopie pies require shortening.
It's not that i don't have shortening. i do. It's just that shortening gets me all worried about the trans-fats.
Does Crisco have Trans-fats?
i was about to give up when i realised that half the magic of baking was all about the substituting.
So i replaced the shortening with, you guessed it, butter.
To be a bit more daring, i tried out a Peanut Butter whoopie Pie recipe because i LOVE LOVE PB.
FOR THE PIES:
-2 tbsp peanut butter
-6 tbsp butter
-75g cocoa powder
-185g flour
-200g brown sugar
-225 ml milk
-1 egg
-1 tsp bicarbonate of soda
-1 tsp vanilla
-Salt
1. Preheat oven to 176 degrees Celsius. Line a baking tray with parchment paper.
2. Sieve the flour, cocoa powder, bicarbonate of soda and salt together in a medium bowl.
3. In a food mixer, cream together the butter and peanut butter. Add the brown sugar and continue mixing. Add the egg and vanilla and beat further till well mixed.
4. Add the flour mixture to the butter mixture along with the milk. Make sure it is evenly mixed.
5. Using a cookie scooper, scoop even amounts of batter neatly onto the baking tray and bake for 15 minutes.
FOR THE CREAM:
-2/3 cup peanut butter
-1/2 cup butter
-3/4 cup icing sugar
1. mix all together and use a piping bag to put the icing on the flat side of one pie. Sandwich another pie on top of it.
So. happy baking.
I know baking makes me happy,
whether i burn it or not.
Note: These pies are like spongy-cakey kind of biscuits. Not really pies. i wonder why they call them that.
Subscribe to:
Posts (Atom)